TL;DR #
You can install fonts on Linux using GNOME Fonts for a simple graphical interface or via the terminal with package managers.
Fonts on Linux #
Fonts are essential for text rendering and user interface aesthetics in Linux systems.
Managing Fonts #
Fonts can be installed via GNOME Fonts, or with package managers.
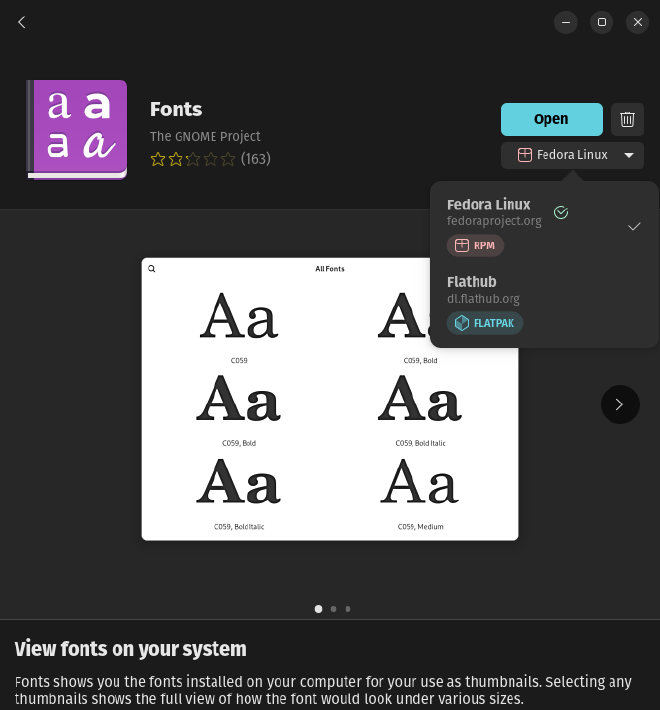
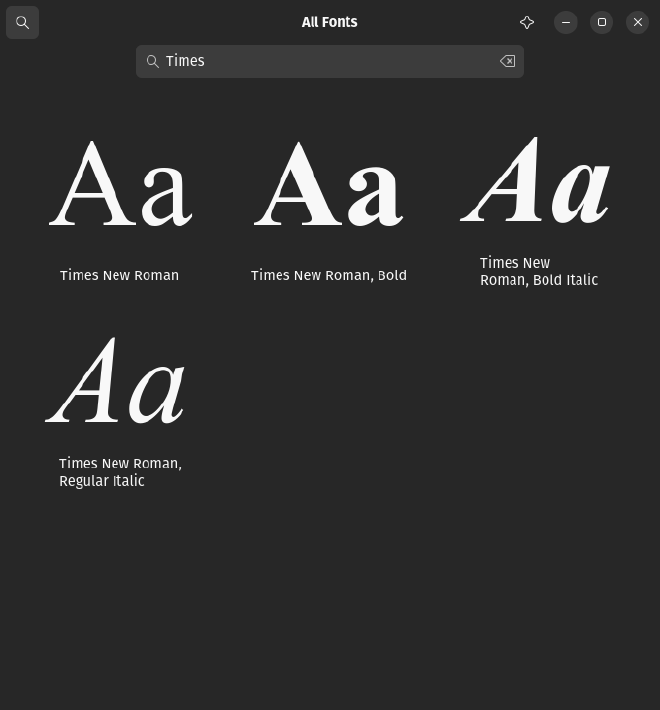
Installing Fonts with GNOME Fonts #
Ensure GNOME Fonts is installed. If not, install it using:
Debian based (Debian, Ubuntu, … etc)
sudo apt install gnome-font-viewer
RHEL based (RedHat, Fedora, … etc)
sudo dnf install gnome-font-viewer
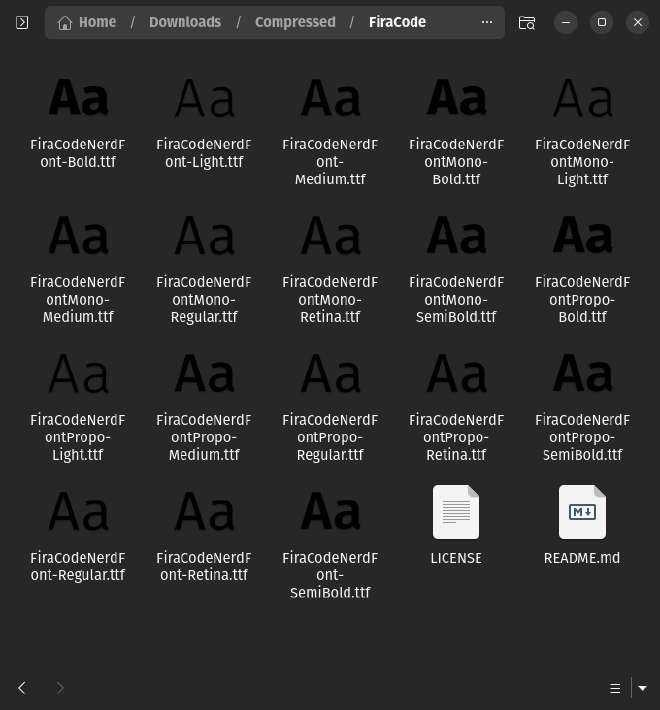
- Download the desired font files (.ttf, .otf, etc.).
- Extract the ZIP file if necessary.
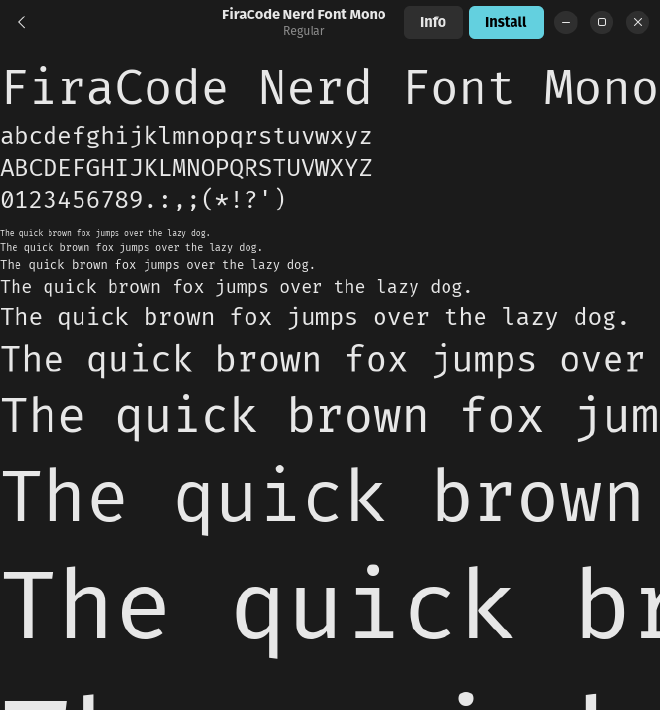
- Open the font file and click “Install.”
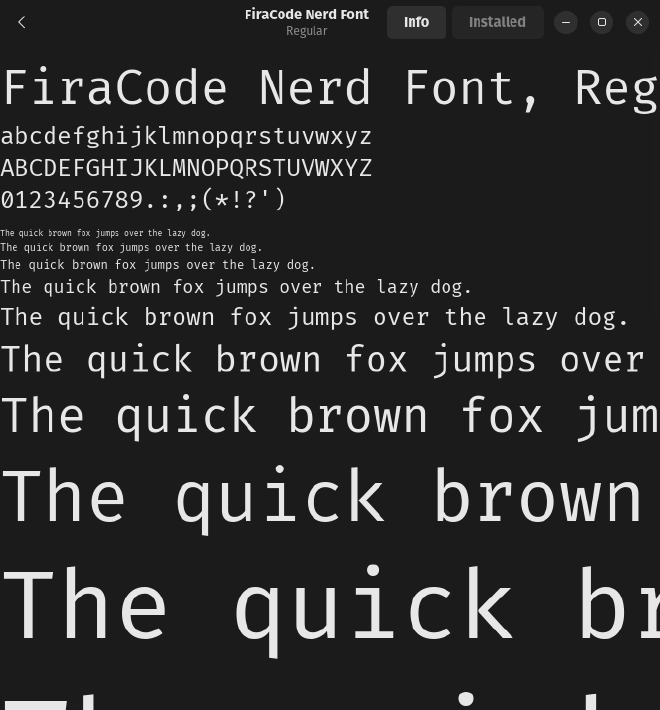
- The font is now installed. If GNOME Fonts freezes, simply close the application and reopen it
- Verify the font installation in the system settings.
Installing via Terminal #
For some commonly used fonts, package managers provide an easier installation method. Note that package names and repository settings, may vary between distributions.
- Install font, Example Microsoft Core Fonts:
Debian based (Debian, Ubuntu, … etc)
# Add Multiverse repository:
sudo add-apt-repository multiverse

# Install Microsoft Core Fonts
sudo apt install ttf-mscorefonts-installer
RHEL based (RedHat, Fedora, … etc)
# Install Dependency
sudo dnf install curl cabextract xorg-x11-font-utils fontconfig

# Install Microsoft Core Fonts
sudo rpm -i https://downloads.sourceforge.net/project/mscorefonts2/rpms/msttcore-fonts-installer-2.6-1.noarch.rpm
- You may need to accept the font license by pressing Tab to highlight the “OK” button and pressing Enter to accept.

- Verify the font installation in the system settings.

Updating Font Cache #
After adding fonts to the system, run the following command to update the font cache:
fc-cache -fv
This ensures that newly added fonts are recognized by applications.
…