Some Linux distributions, like Pop!_OS, come with NVIDIA drivers included by default in their ISO images. Unfortunately, Fedora does not provide NVIDIA drivers out-of-the-box, so you’ll need to install them manually. This guide provides instructions on how to install NVIDIA drivers on Fedora.
Note: Make sure to read through the entire guide first before performing the installation to ensure a smooth process. This guide is based on Fedora 41 and NVIDIA GeForce 940MX.
…
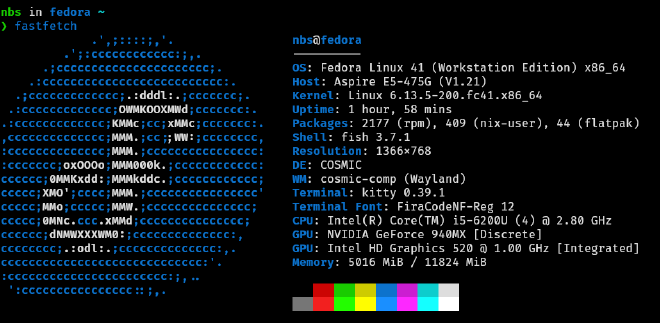
To begin, determine your GPU model by running:
/sbin/lspci | grep -Ei 'VGA|3D'
Once you know your GPU model, you can proceed with installing the appropriate NVIDIA drivers.
RPM Fusion is a third-party repository that provides free and non-free software for Fedora, including NVIDIA drivers. This method simplifies the installation process and integrates better with Fedora’s package management system.
Determine Which Driver to Install
First, identify your GPU model to select the appropriate NVIDIA driver. You can install the latest driver or choose a legacy version depending on your hardware.
Latest Driver (Recommended for most users)
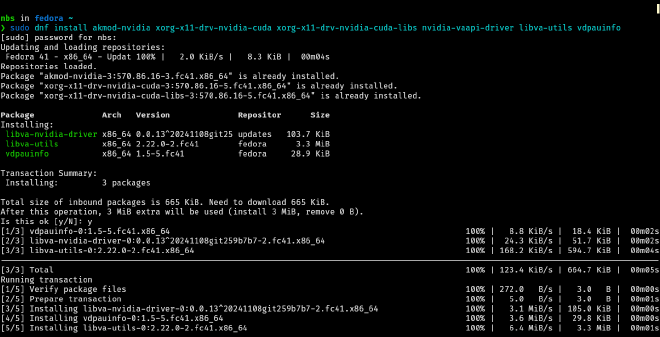
To install the latest NVIDIA driver:
sudo dnf install akmod-nvidia
For Legacy Drivers
To install a specific version, replace Version with the version you need:
This method involves manually downloading the official NVIDIA drivers from the NVIDIA website. This gives you more control over which driver version you install.
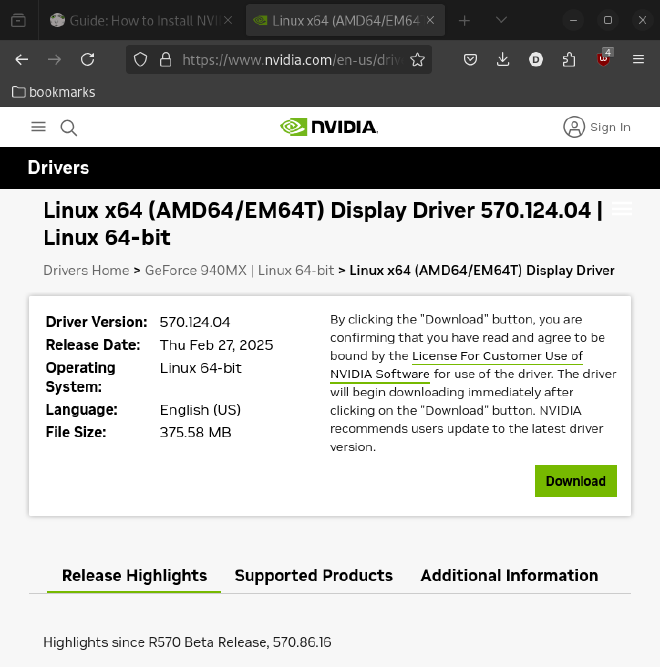
Download the NVIDIA Driver
Visit the NVIDIA Driver Download page and download the driver package for your GPU.
Disable Nouveau Driver
Disable the Nouveau open-source driver to avoid conflicts with the NVIDIA driver:
echo -e "blacklist nouveau\noptions nouveau modeset=0"| sudo tee /etc/modprobe.d/blacklist-nouveau.conf
Regenerate Initramfs
Regenerate the initramfs to apply the changes:
sudo dracut --force
Switch to Text Mode (Multi-User Mode)
To avoid conflicts with the graphical interface, switch to a text-based login:
sudo systemctl set-default multi-user.target
Reboot the System
Reboot your system into multi-user mode:
sudo reboot
After rebooting, the system will enter CLI (Command Line Interface) mode without a graphical interface. Don’t panic this is expected because we temporarily disabled the GUI as part of the installation process.
Enter your password (it won’t be visible as you type), then press Enter.
Set Execution Permissions
The downloaded NVIDIA driver file is usually located in the Downloads folder. First, navigate to the folder and make the file executable:
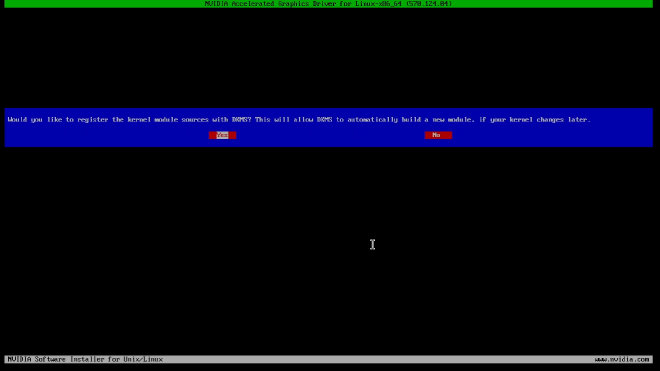
Enable DKMS kernel module support (for automatic updates)
Re-enable the GUI
Since we switched to text mode (CLI) earlier, we now need to restore the graphical interface (GUI). This will allow you to boot back into your desktop environment.
To switch back to GUI mode, run:
sudo systemctl set-default graphical.target
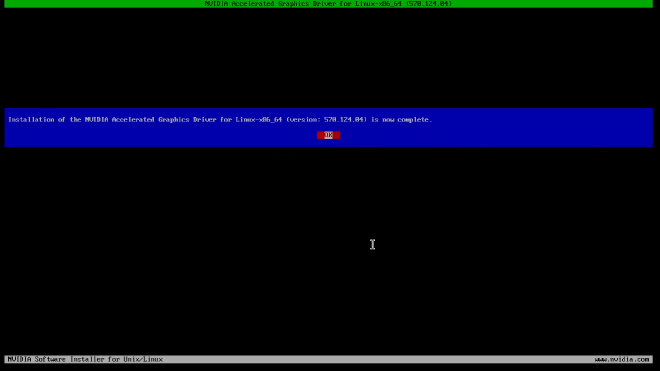
Reboot Your System
Once the installation is complete, reboot your system:
sudo reboot
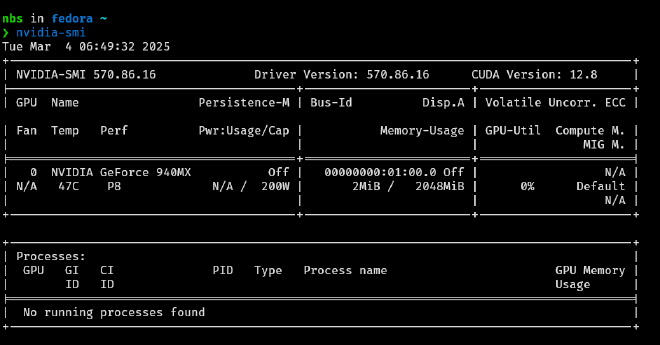
Verify the Installation
After rebooting, verify that the NVIDIA driver is installed and working: