TL;DR#
You can install fonts on Linux using GNOME Fonts for a simple graphical interface or via the terminal with package managers.
Fonts on Linux#
Fonts are essential for text rendering and user interface aesthetics in Linux systems.
Managing Fonts#
Fonts can be installed via GNOME Fonts, or with package managers.
Installing Fonts with GNOME Fonts#
Ensure GNOME Fonts is installed. If not, install it using:
Debian based (Debian, Ubuntu, … etc)
sudo apt install gnome-font-viewerRHEL based (RedHat, Fedora, … etc)
sudo dnf install gnome-font-viewer
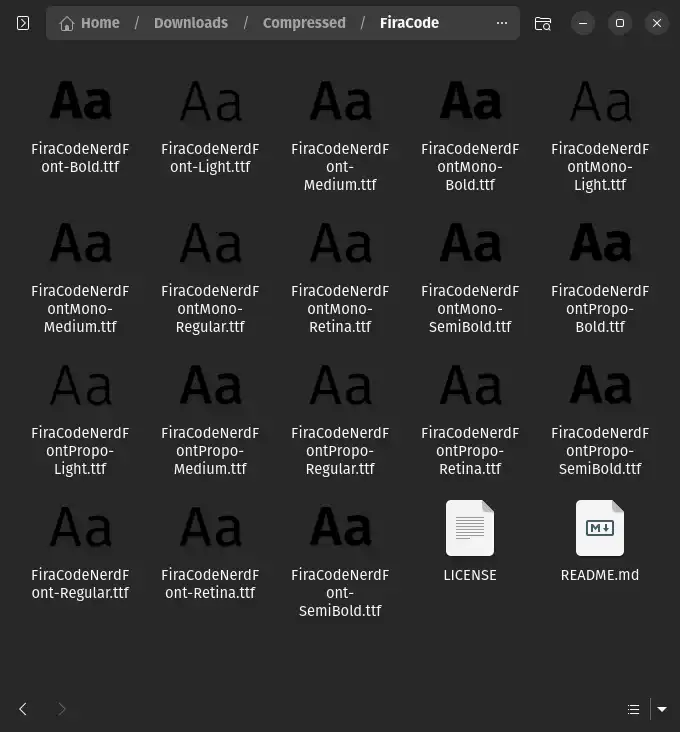
Download the desired font files (.ttf, .otf, etc.).
Extract the ZIP file if necessary.
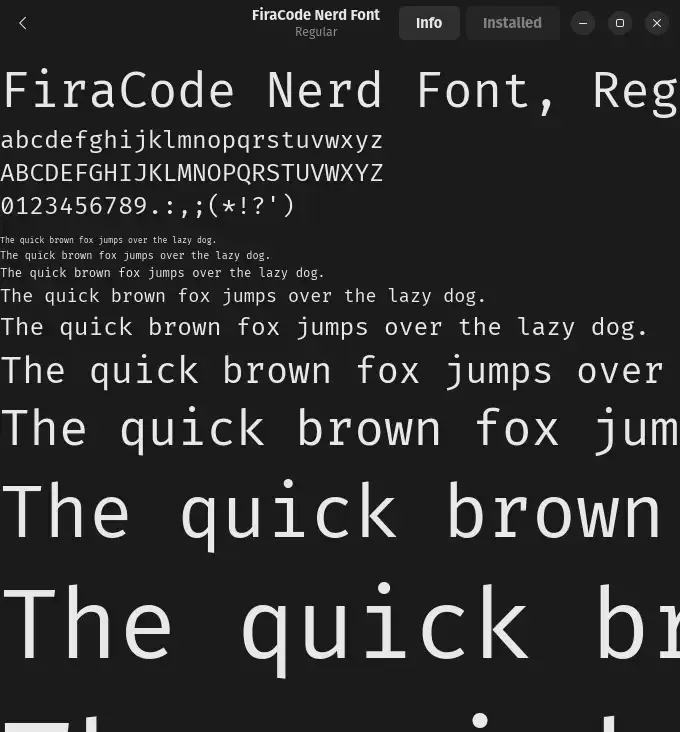
Open the font file and click “Install.”
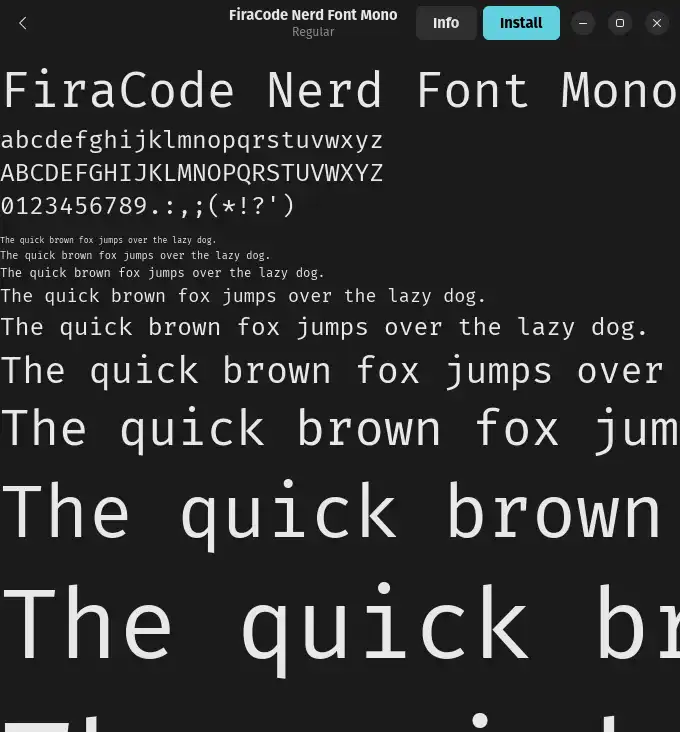
The font is now installed. If GNOME Fonts freezes, simply close the application and reopen it
Verify the font installation in the system settings.
Installing via Terminal#
For some commonly used fonts, package managers provide an easier installation method. Note that package names and repository settings, may vary between distributions.
- Install font, Example Microsoft Core Fonts:
Debian based (Debian, Ubuntu, … etc)
# Add Multiverse repository:
sudo add-apt-repository multiverse

# Install Microsoft Core Fonts
sudo apt install ttf-mscorefonts-installer
RHEL based (RedHat, Fedora, … etc)
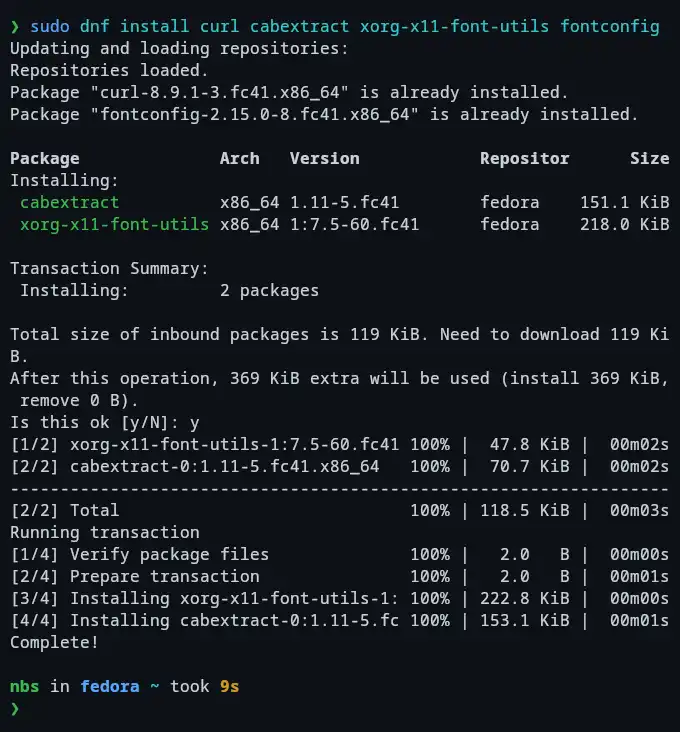
# Install Dependency
sudo dnf install curl cabextract xorg-x11-font-utils fontconfig

# Install Microsoft Core Fonts
sudo rpm -i https://downloads.sourceforge.net/project/mscorefonts2/rpms/msttcore-fonts-installer-2.6-1.noarch.rpm
You may need to accept the font license by pressing Tab to highlight the “OK” button and pressing Enter to accept.
Verify the font installation in the system settings.

Updating Font Cache#
After adding fonts to the system, run the following command to update the font cache:
fc-cache -fvThis ensures that newly added fonts are recognized by applications.