TL;DR#
A streamlined workflow to transform a fresh GNOME install into a personalized, productive environment by focusing on essential apps, hardware verification, and configuration recovery.
My Post-Installation Guide#
1. Storage & Disk Management#
Ensuring data availability starts with proper mounting. I use GNOME Disks to automate this process so my secondary drives or partitions are ready at boot.
- Process: Open GNOME Disks -> Select Drive & Partition -> Edit Mount Options.

- Action: Disable
User Session Defaults, checkMount at system startup, and set a clear Display Name using the Identify As: Label option for a cleaner file manager sidebar.
2. Browser & Online Identity (Firefox)#
The browser is my primary window to the world. I prioritize privacy and a seamless sync to get back to work quickly.
- Account Sync: Log in to Firefox Sync and Google to restore bookmarks, history, and extensions.
- Default App: Set Firefox as the system-wide default browser in GNOME Settings.
- Privacy First: Harden privacy settings and install
uBlock Originimmediately to ensure an ad-free experience.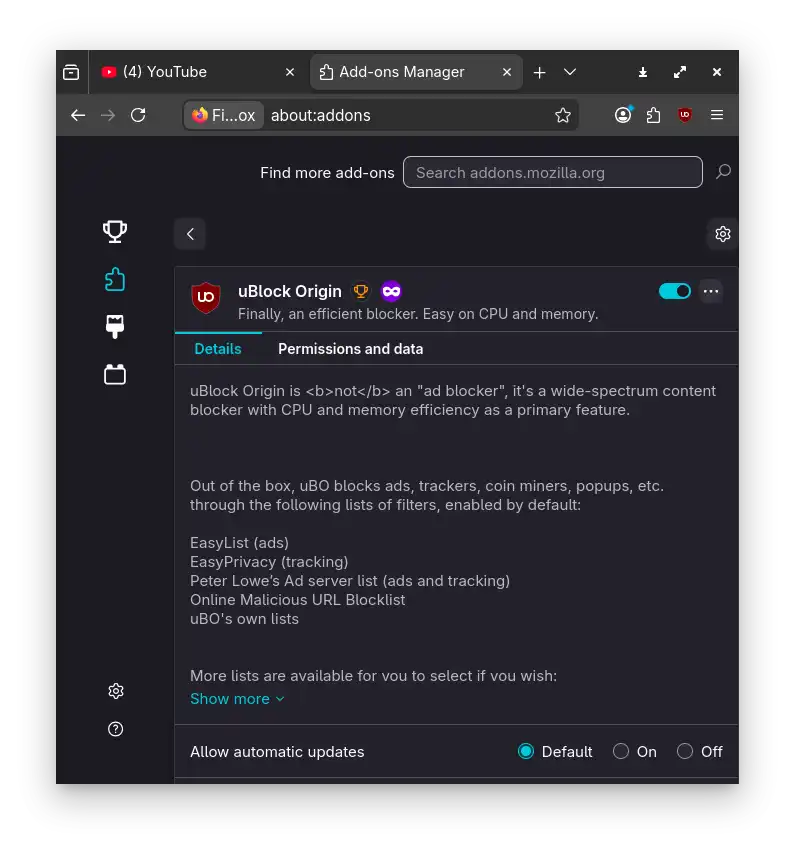
3. Software Installation#
I populate the system using a mix of the official repositories(pacman) and the AUR (via paru) for binary-specific tools.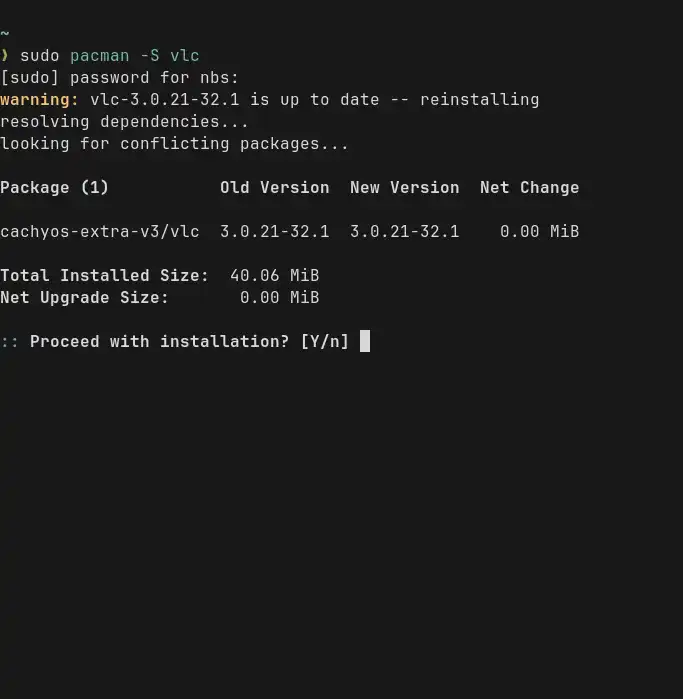
4. Graphics & Drivers (NVIDIA)#
Most modern distros include NVIDIA drivers in the ISO, so this step is mostly about verification.
- Verification: Run
nvidia-smiin the terminal to ensure the driver is loaded and recognizing the GPU. - Control Panel: Open
nvidia-settingsto verify GPU clock speeds, temperatures, and display refresh rates.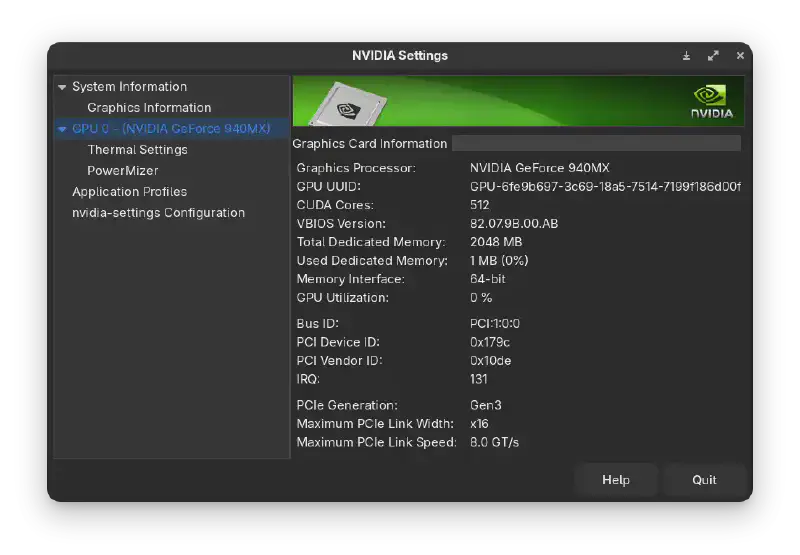
5. Personalization via Dotfiles#
Instead of configuring every app manually, I rely on my saved configurations to restore my environment instantly.
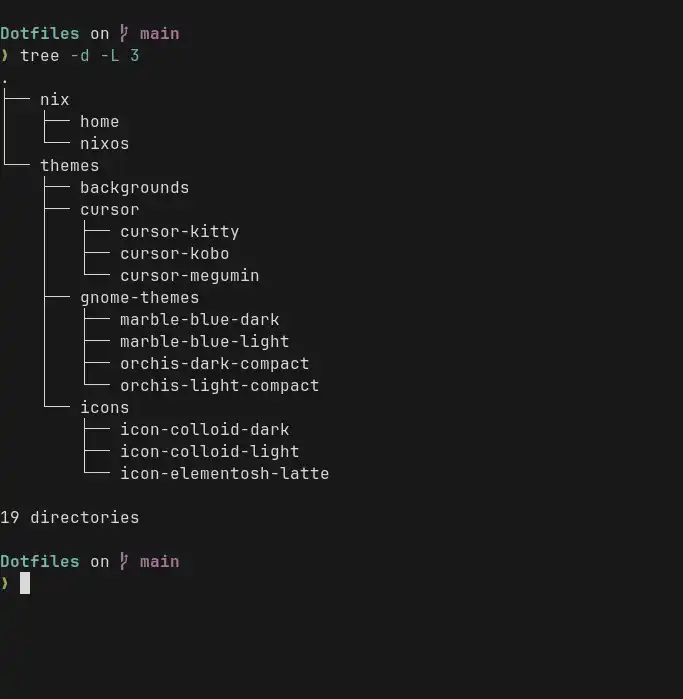
- Cloning: Pull personal dotfiles from GitHub
- Deployment: Copy backgrounds, gnome-themes, and icons to
~/.local/share/. Copy cursor folders to/usr/share/icons/so that Flatpak applications can correctly render the custom cursor.
6. Refining the GNOME Interface#
I use a combination of GNOME Tweaks and Extension Manager to achieve a streamlined workflow based on my preferences.
- Interface: Adjust the
Show Applicationsbehavior for quicker access. Place apps according to tags - GNOME Extensions: Activate essential plugins like
Blur my ShellandVital. - Advanced Tweaks: Use
dconf-editorfor granular settings andGNOME Tweaksto re-enable Minimize/Maximize buttons and set system fonts. - System Settings: Finalize display scaling, power profiles, and touchpad gestures.

7. Additional: Boot Configuration#
The final step is to minimize friction during the power-on process.
- Boot Setup: Adjust GRUB or systemd-boot configurations to set a shorter timeout (e.g., 2 seconds) and ensure the default entry points to the correct kernel.
References#
Fixing GNOME Extension Compatibility with dconf-editor
Optimizing the GNOME Desktop: Essential Extensions